Pages

Showing posts with label tutorial. Show all posts

Thursday, July 25, 2013

Tutorial: Easy Origami Leaf Pocket Envelope

Make a quick pocket envelope with this easy tutorial!


Cute isn't it? It just takes a few steps. Learn the basics and let your imagination run free.

Here's what you will need:
  • A4 paper (printer paper, 70-80 gms)
  • Imagination ;)
Take a sheet of A4 paper, color of choice, and fold diagonally.


Open the fold. Then fold from other side.


When you open the paper, you will find an X formed from the creases.


Next, take the left corner and bring it towards the center of the X.


Open the fold. Now you have a line which will form the base of the leaf folds.


Fold the corner such that it meets the base line.


Open the fold. You have made two guide lines:


Next, make accordion folds. You could go on instinct but a much neater method will be to continue halving the portions. Now, with the initial two guide lines, fold so that the two lines meet.


open the fold. You have three lines. fold again to make a small division like so:

Halve it still, for a very small division.


This may clarify:

This is the fold-size you want:


Continue folding till you have folded the entire corner section. This is what it will look like:


Almost done with the leaf! Pinch the middle of the folds to make a diagonal fold. Since we did this in our first two steps, the fold will be easy and accurate.


Here is what it will look like after folding:


Fold the paper in half like so:


Next, fold the accordion side inwards.


Here's what it will look like:


Open the half fold.


Now fold the two corners, such that they meet on the center crease.


Fold in half again.


To form the envelope, we have to fold it so it forms a neat little pocket. Here  is the trick: See the little line? This is where we will fold the long corner outwards.


This is what it will look like:


Here is the back:

See this little triangle?

Fold it inwards and tuck!

Here is your pocket envelope!


Let your imagination run wild with these little guys ;)


Thursday, July 11, 2013

T-shirt Jewelry? Yes Please!

Have a favorite t-shirt that's worn out? Don't want to throw it away? Don't worry! Heres a great way to upcycle your old t-shirts and guess what? No one will know! Wear your favorite t-shirt as a necklace or bracelet. Heres one I made for my little cousin:

and we made a matching bracelet too!

Here's what you need:

  • your favorite t-shirt of course
  • a needle and matching thread
  • glue (UHU or fabric glue)
  • Scissors
For the necklace strings, take your t-shirt and cut off the bottom hem. But wait! Do NOT throw it away! (Hem upcycle tutorial soon) Cut off 1-inch strips. The more strips, the thicker the necklace so cut away...snip snip. Now that you have your strips, hold the two ends and stretch your arms as wide as you can. You will notice a tubular string forming. This will form your necklace.Add as many strings as you want, depending on the thickness you want and stitch all the ends together. To neaten the necklace, cut out a rectangular piece of t-shirt and wrap around the stitched edges. Stitch this in place. Now, to cover this, we will make an elegant t-shirt flower.

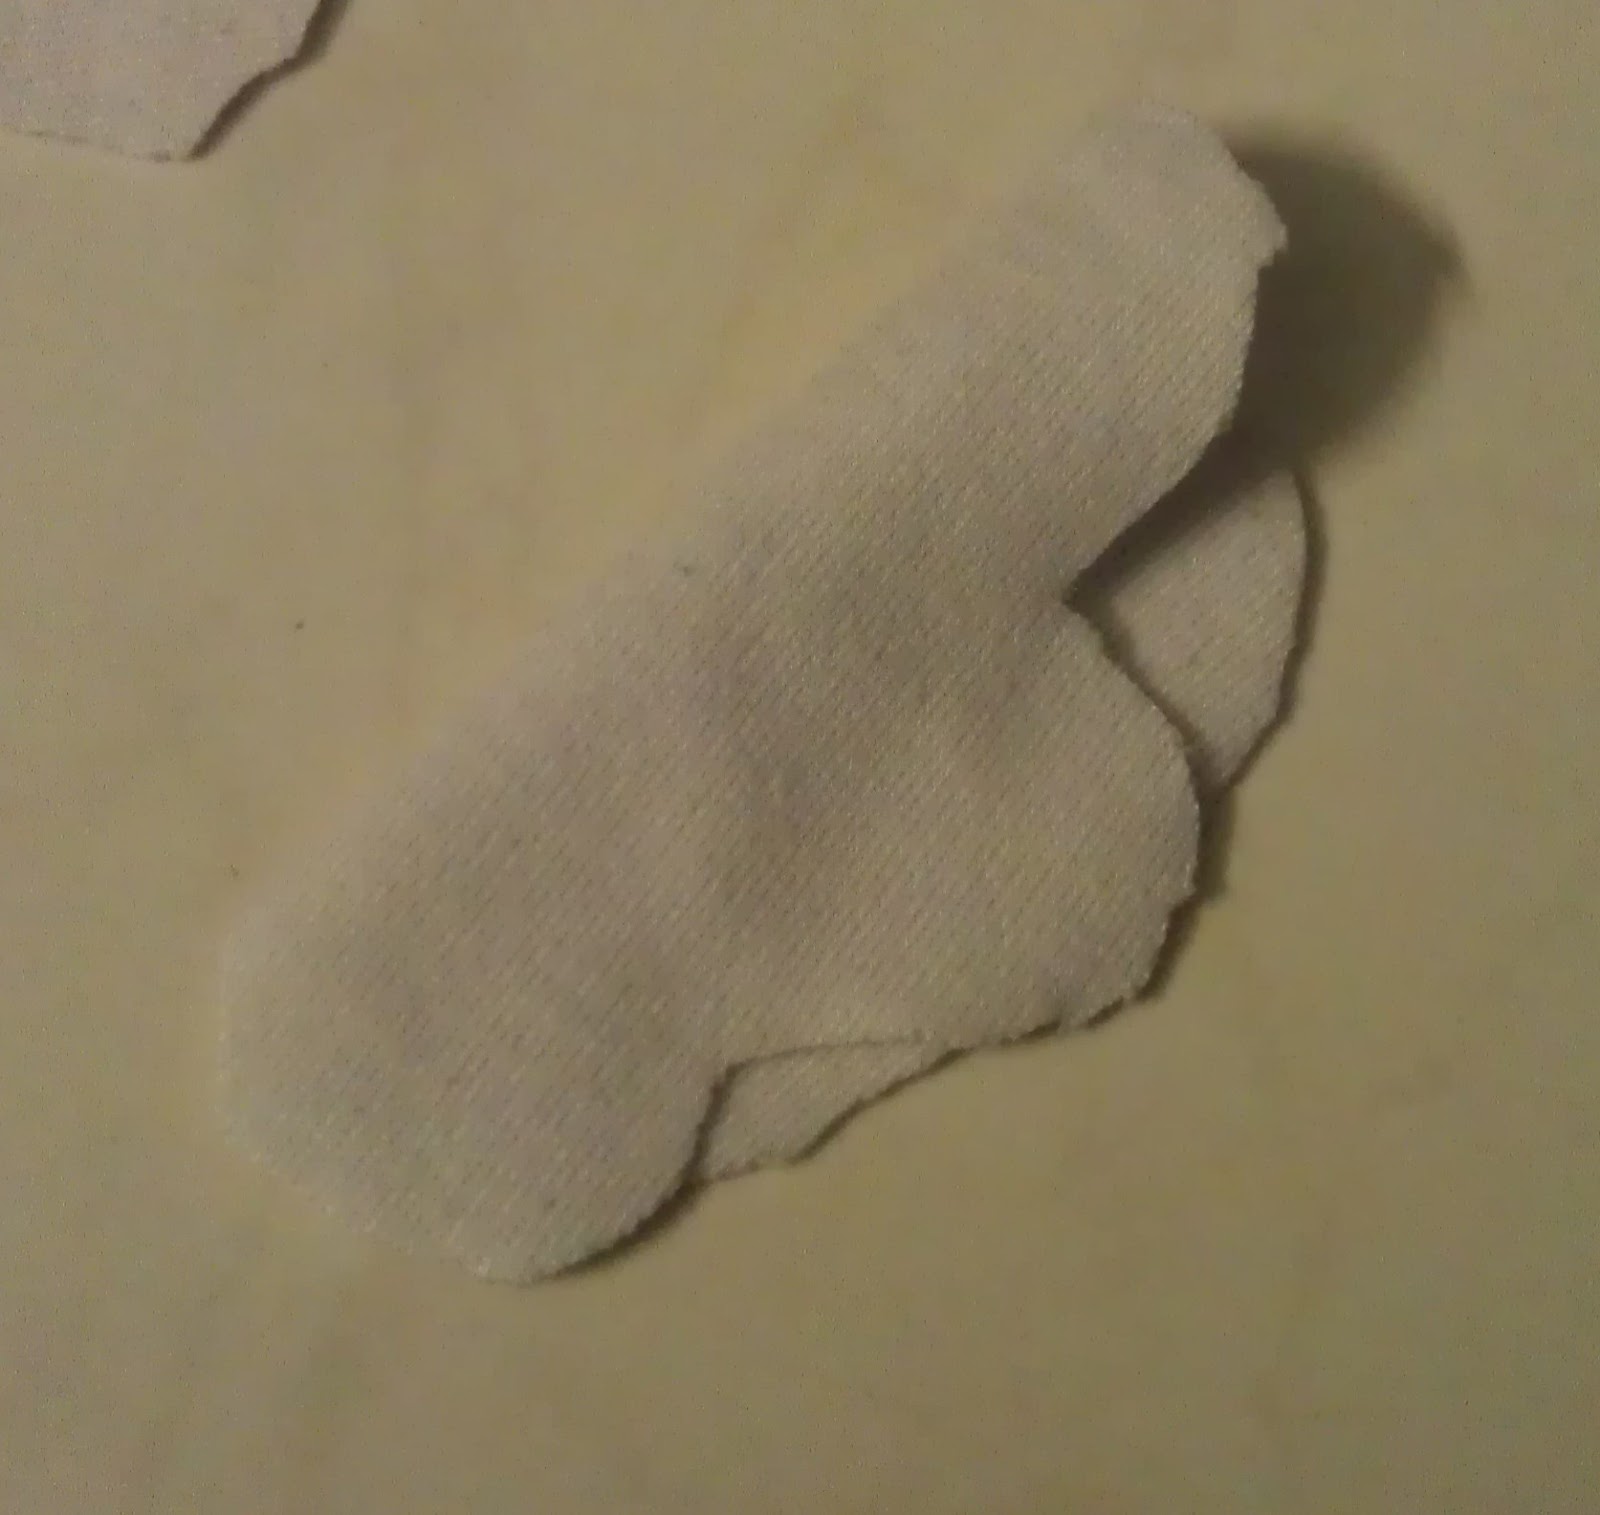
To make the flower, take your t-shirt (contrasting color preferred) and cut out 5-petal flowers. We will need nine such flowers.

Next, take a flower and fold it in half.
 
Then fold it in half again. you will end up with something like this. 
Place a dot of glue in the center of the fold near the pointed edge. Do this for eight of the flower petals. Next, cut out a small circle from the fabric and place four of the petals (pointed edges approximately in the center of the circle).

Start the second layer by placing a petal on top of the center of two petals as shown:
For the centre of the flower, take a petal and fold it in half.


Then roll it up and glue the edge.


Hold it to the center of the flower. Since it will be longer than the height of the rest of the petals when you hold them up, we will need to cut the bottom of the center to get the correct height.

Then, stick it to the center of the flower.


Now, to form your flower, apply glue dots to each petal on the top layer.

Next, grab the layer of petals and pinch towards the center.

You will end up with a pretty flower!


Attach it to the rectangular piece and you are done!

Let me know of any queries =)


Wednesday, June 26, 2013

Welcome to my blog!

Assalamualaikum!

Welcome to my first craft blog! What do you do if you have a passion to write and a passion to craft? Well, you start a blog of course! Well, not really but...yeah.. That's the reason for starting this blog anyways! So all you crafters out there, all you who are looking for inspiration, all you who are looking for simple and easy tutorials...this blog will be your answer Insha Allah.

What a blog without an introduction eh? Hehe! I am Nidzy. I am based in Pakistan, happily married (it's quite recent) Masha Allah. I have a home-based craft business. Here's the link on facebook (winks):

https://www.facebook.com/pages/Nidzys/142710935758135

I currently have little or no crafting space. I used to, at mum's house (sad). But no worries! I'm working on it! Here's a look at my old space though:

When I was not working

During a project
I miss it! But planning on some new space and looking for craft room ideas! Huh! wishful thinking (dreamy look) ;)

Anyhoooow...Welcome once again and don't hesitate to leave a comment. Do check out my tutorials and other endeavours!

Until next time!
Nidzy